Monday, October 31, 2005

All about me More!

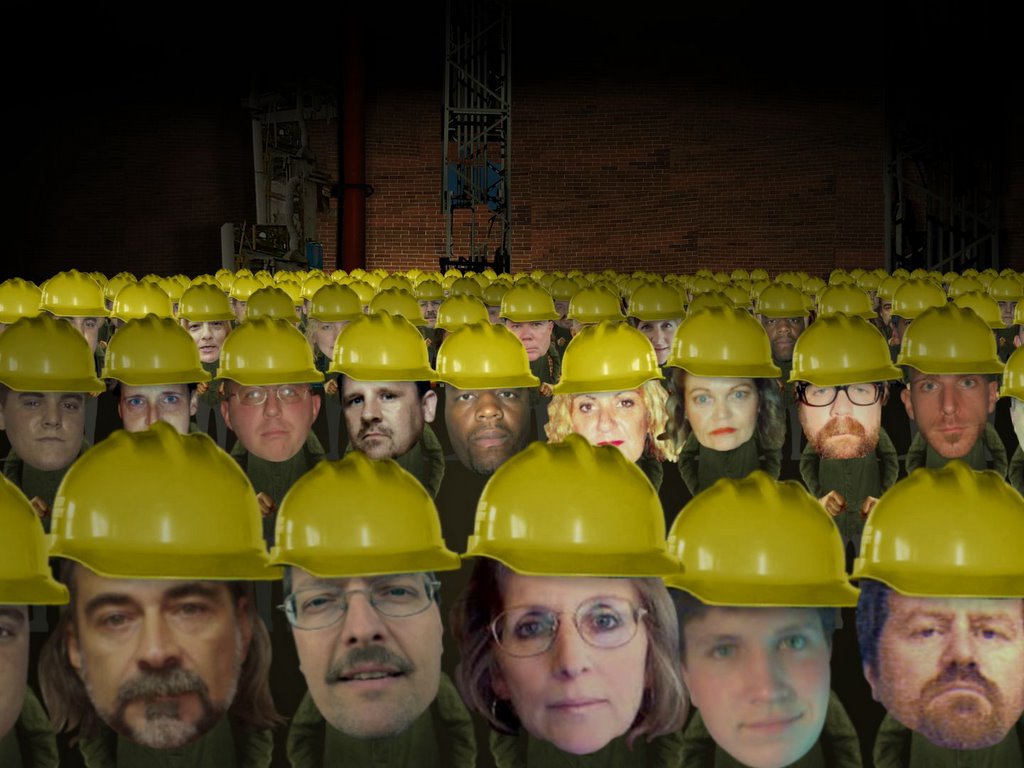
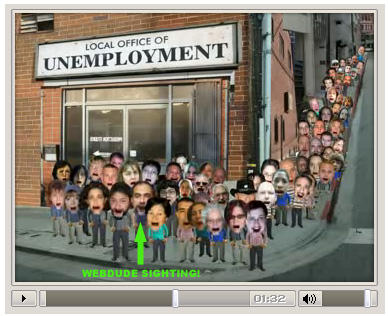
JibJab sent me the Hi-Res shots of my scenes. I hadn't been able to spot myself as a Factory Worker in the pan. The proof is in the picture however, and there I am, front row far left.

Thursday, October 13, 2005

Yeah,yeah it's all about me....

Of course, it IS my blog...
Here's my piece of Animation History from Jib Jab's Big Box Mart:

And, in a strange case of art imitating life the locale shown is exactly where I find myself now so if anyone's looking for a one man IT shop, Graphic Artist or needs a commercial paper model designed...........

Tuesday, October 11, 2005

Akira: Voila!

And, Here it is!


Thanks to Brad Tate for:
1. Designing this kit!
2. Providing help when I got stuck!

This is one of the most challenging and satisfying kits I have built to date.

Akira: Happy Happy Joy Joy

All that remains are the decals.

Yes, it is free standing.

Final photos later today.

Monday, October 10, 2005

Akira: One piece left to glue


So very very close to completion! The Decals are printed on adhesive label stock.
Since September 27 this model has had 3,208 downloads.

Sunday, October 09, 2005

Akira: Finish Line IN SIGHT!

Almost there.

No further problems found.

I'd like this model to be free standing so I'll rig a support stand to hold it all in place while the wheels are glued to the bike.

Friday, October 07, 2005

Akira: And Round Again.

Second verse, same as the first:


About 4" diameter


Now, let's put a bike between those wheels.

Sunday, October 02, 2005

Akira: And Round! (1)

First pieces of Front Wheel

Second set.

Third set.

Ready to close.

And, that's the front wheel!

On to the Rear.

Akira: And the Wheels go round'........

Or at least I hope they do.

The best how-to I've seen on assemblies of this nature is at Yamaha's site:
http://www.yamaha-motor.co.jp/global/entertainment/papercraft/advice/0002.html

Rear wheel prep.

Front wheel prep.

And away we go.....................

Saturday, October 01, 2005

Akira Update

Main body almost closed.

I started to close the sides from the front of the assembly. In retrospect, I would recommend the following procedure:
Glue the seatback to part 70.
Glue part 70 to parts 30 & 31.
Slide this assembly on to the main body and glue the seatback to the seat.
Glue parts 30 & 31 to the main body, working towards the front.


Starting to finish front cowl assembly.
Time to build some wheels.